Project time occurs throughout the week at Keystone, but we typically dedicate Wednesdays to Project Time.
During Project Time, students present or are presented with an idea or problem, and they then brainstorm ways to solve the problem. This is done in multi-age groupings where children from all levels join to achieve the task at hand. Whether it is building a rain forest, opening a restaurant, creating a working city, building bridges from popsicle sticks (one that held 80lbs), or digging for dinosaur bones in the playground, Keystone’s Project Time is engaging, thought-provoking, and fun.
Children form groups based on their social, academic, and emotional needs. As a result of this natural grouping, their personal strengths emerge, strengthening the group as a whole. These groups facilitate learning, while at the same time, teaching selection skills and teamwork.
Here are some other examples of previous all-school projects:
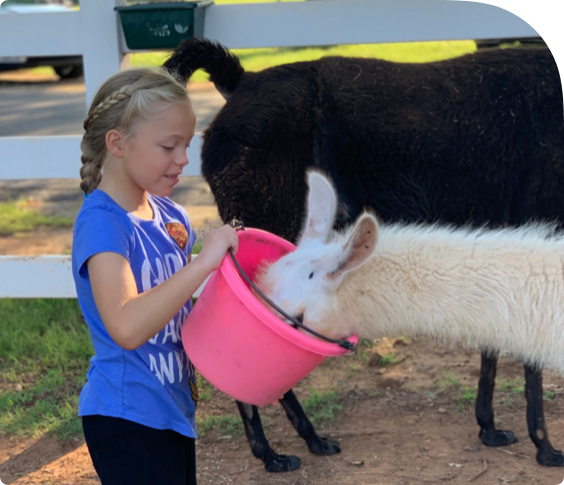
KEYSTONE’S SAFE AND HUMANE ANIMAL CARE
OUR INSPIRATION
Last year, the Kirkpatrick Foundation granted the funds to rebuild and refurbish our Keystone barn, updating stalls and building a finished classroom/learning laboratory for expanding our children’s experience of safe and humane care of our animals with an outreach program to teach other school children about the same. These generous funds helped to continue our one-of-a-kind programs that give our Keystone Kids unique learning opportunities.
STEP 1. BRAINSTORM
Once everyone got the news that we would be putting together an ensemble of animals and information on how to properly care for them in the most humane way we began to
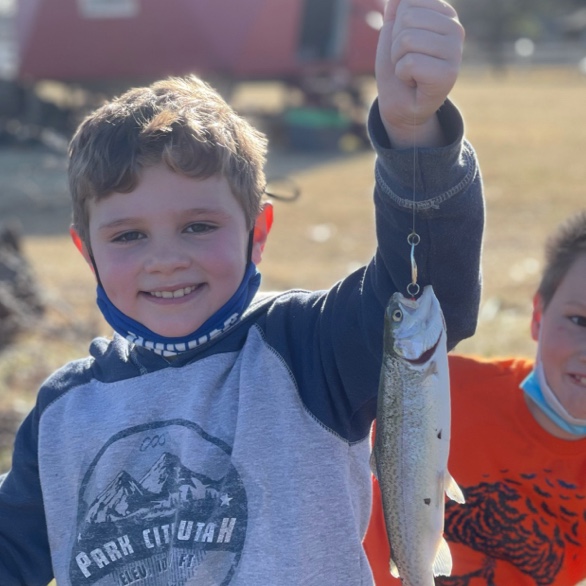
Keystone kids are such an excited group of learners, but when they are given a chance to delve into one of their favorite topics the excitement level seems to double.
We began to put together a list of animals. This first list that we brainstormed together was any animal, it could be domesticated, wild, local, or exotic. Since we started with a boundary free list this allowed all of our thinkers to really get their brain juices flowing. Hands were shooting up constantly and a constant stream of animals were being added to our list. By the end of the whole group brainstorm we had a wide array of animals from small reptiles to massive mammals. TextEdit
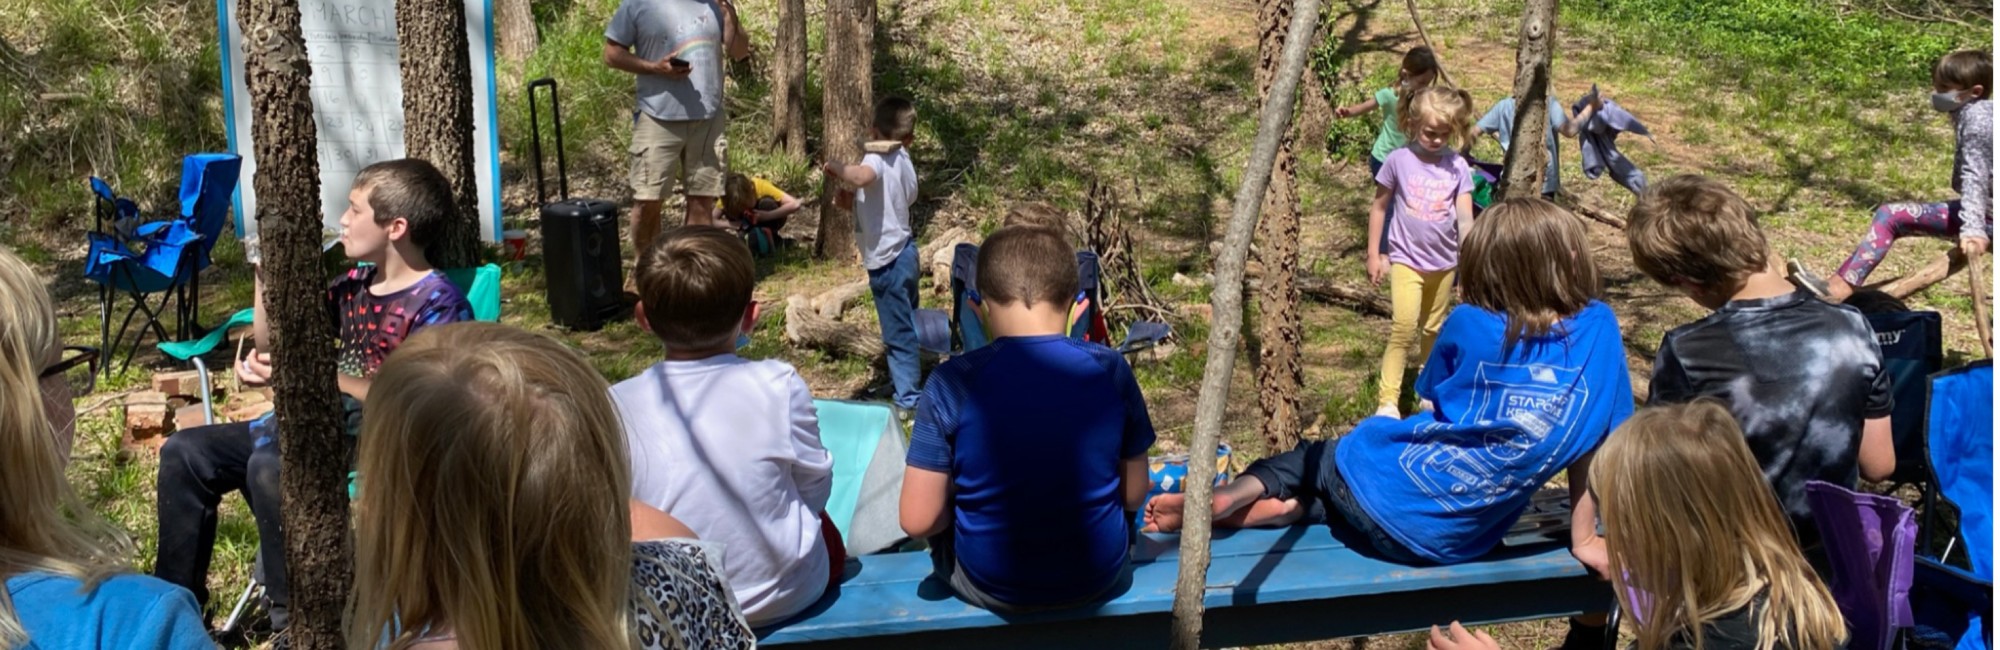
STEP 2. SMALL GROUPS
After a short break on the playground to get the wiggles out we broke in to eight multi age groups. The goal for the small groups this afternoon was to decide on one animal from the list and begin a deeper study on that specific animal. In some of the groups each student got to pick an animal and then the group voted on which one they would be researching. Since the beginning of the school year we have been building a democratic community throughout our whole school- this makes life’s “big decisions” like picking just one animal to study much smoother. After the groups had decided on an animal and the iPads were distributed we starting searching for the answers to following questions pertaining to the humane care of each animal.
- What do we need to know?
- What environment does it need?
- What food does it eat?
- Does it require exercise?
- How much water does it need daily?
- What is the cost for the upkeep of this animal?
- What kind of animals can they live with?
- What kind of animals can they not live with?
- What are their behaviors?
STEP 3: CONSOLIDATING THE LIST
Wanting to stay true to the Kirkpatrick’s goal to make Oklahoma the most humane state; we regrouped and edited our animal list to only animals that would be found in Oklahoma. Each class then volunteered to research a couple of animals from the condensed list. This allowed the second round of research to be more age appropriate for the whole school. The older researchers did independent and specific questions; whereas the younger researchers focused on the basic needs and illustrated pictures to display their findings. TextEdit
STEP 4: CLASS PRESENTATIONS
The whole school got a great chance to practice both our public speaking and audience member skills. Each class prepared a presentation or display to exhibit the information they had gathered.
STEP 5: HANDS ON
After a couple of weeks of research it was time to get our hands messy! If you have ever done paper mache with 60 elementary students you know that we got our hands REALLY messy. Each student picked out an animal (from the consolidated list) to construct. This process had several steps:
- Pick an animal from the consolidated list
- Construct their animal out of newspaper and tape
- Tape, tape, and more tape to makes sure their structure was secure
- Paper mache and let dry
- Prime their animal with a white base coat
- Paint their animal and add details/final touches to make their structure realistic
Building our animals was pertinent to our overall project because it provided direct experiences with materials, objects, and phenomena. This motivates students who love hands-on activities to remain interested in the project. The goals for the construction are that the students will remember the material better, feel a sense of accomplishment when the task is completed, and be able to transfer their experience/information easier when we open our safe and humane animal exhibit.
STEP 6: BUILDING THE EXHIBIT
Half way through our personal animal constructions, we started to discuss what we wanted our exhibit to look like. We had already been contacted by one organization that wanted to tour our outdoor classroom so we had to start asking ourselves questions pertaining to what our exhibit would look like. What do we want our viewers to learn? What is the most important information regarding the safe and humane treatment of animals? How should our information be displayed? What types of visuals should be in our exhibit? How many visuals should be in our exhibit? The paper mache animals turned out to be such quality pieces we decided they would be the focal point of our exhibit. We would construct the rest of the displays and information around them. As a group we spent time picking specific animals and then brainstorming what all information a viewer would need to know about the treatment of that animal. After this discussion we started the construction of large visuals and even life size animal replicas.
KEYSTONE ARCADE
STEP 1: BRAINSTORMING AND THE DRIVING QUESTION
“What is an arcade game?”
To begin our project, we asked the students about arcade games they have played, experiences they have had, what they liked about the games, etc as a multi-age, whole-school group. Through this process, students begin to reflect upon and visualize the games they have experienced.
Next, they brainstormed about the working parts of games like the gears, levers, balls, etc. We did this to go beyond the experience of the game into the functionality of the game that they will need when building a game.
To finalize our preparations for our field research at a local arcade, we brainstormed a list of questions that would be good to ask of each game. They came up with the following:
- How does it work?
- How many parts will it take to build it?
- Does it have ball or something to throw?
- Are there buttons or levers?
- Are there plungers?
- Is there a hammer?
- Are there joysticks with buttons?
- Does it require a pedal?
- Is there a model of a real thing to interact with?
- Are there cranks or wheels?
- Are there gear shifts or handlebars?
- Are there pressure plates?
- How do you make parts move?
- How does the game give out tickets?
- How do you know if a game gives tickets?
- How could I make a screen?
- How do you make the game start?
- How does it know you win?
- How do you interact with the game?
STEP #2 – ACTION RESEARCH
We loaded up as a school and traveled to a local arcade to do some action research. While there, students were grouped in multi-age pairs or trios and assigned to a specific game to investigate. They needed to play the game, take pictures of the primary features of the game, and record the game in action. Finally, they needed to look through the list of questions and be ready to answer those questions upon our return. Then we gave them all some time to experience many of the games in the arcade and play for about an hour.
When we got back to the school in the afternoon, we gathered the pictures and video and had students present the details of the games they observed with the aid of the pictures and video.
STEP #3 – PREP AND GATHER MATERIALS
The next time that we gathered as a whole group, the students brainstormed a list of items that they could gather from their homes as building materials. Most of this consisted of boxes, bottles, lids, and other recyclable goods. Over the next week, students brought in materials to add to the collection of building materials.TextEdit
STEP #4 – BUILDING DAY #1
When we got to our first building day, most of the older students had a good starting idea for where they wanted to go with their design. Some even created initial sketches to help flesh out that idea. The younger students brainstormed ideas. We allowed them to self group or work individually for this project; however, we encouraged the older students to bring in a younger student to work with them. Then, they got to work building as teacher circulated to support their efforts and ask questions to help them refine their ideas.
BUILDING DAY #2
In our second whole-school building day, students worked to further refine their ideas, name their games, and decorate. They worked out logistics in their designs with regards to the rules and rewards of their games as well. They also began to play test their designs with others.